2026
• 20260629 - Mike Klapac - near the end
Mike has been doing his magic since October of last year. I have not kept up with the progress on this website since Mike has been making a photographic record and sharing it with several of us on Google. Here is the link to the full set of photos: https://photos.app.goo.gl/itu6fTLtNJ1vz1rw8
The photos tell the story, but in order to catch up and more fully explain what Mike has done, let me break it up into pieces.
1. The first row shows the Singer being set up, disassembled and ready for stripping.
2. Row two shows the irregularities and warpage of the bonnet.
3. Rows three through eight show the fenders being stripped, reshaped, new metal welded on if needed, sanded and ready for primer.
4. Rows nine through 13 show the bonnet halves being stretched and straightened in the beginnings of the fore and aft mounting pieces being remade to hold the chrome hinge pin. There's also an image of the running boards being prepped.
5. Rows 14 through 17 deal with fastening the bonnet locks and the latches receiving parts revisioned and being welded to the upright side supports.
6. Rows 18 through 21 show the first step priming. Row 20 shows the first surprise hinge pieces which were stripped to reveal individual numbers formed with the casting of each hinge part plus a swivel piece in the middle whose purpose was not clear until the boot hinges were dealt with.
7. Row 22 shows the British racing green paint applied to the fenders and bonnet parts.
8. Row 23, part A shows another green fender, part B shows the boot section having been stripped, parts C and D show the gas tank which was leaking and needs to be re-welded, part E shows how far the tub is out of alignment where the doors attach.
9. Rows 24 through 26 mostly show the tub being stripped and ready for primer. Some photos in the series show dashboard instruments being loosened so the tub could be masked. Some show the gas sending unit which relays the tank capacity on the dashboard via its wires. Others show how badly out of alignment and where the rough welds distorted the boot.
10. Rows 27 and 28 show the tub undergoing multiple coats of primer and sanding plus the beginning dismantling of the doors.
11. Rows 29 through 33 show the doors being stripped and the damage underneath revealed. Mike decided to make new doors out of steel and scrap the damaged aluminum ones.
12. Rows 34 through 40 show the difficulty in fitting the doors for proper closing. Mike used a series of shims to align the very specific hinge parts so that the door would close and latch without crooked gaps.
13. Rows 41 through 44 show the masking and priming of the tub and doors. Part C of row 44 shows the wire frame Mike welded to approximate the multiple curves necessary for the boot to fit properly. I had envisioned doing this in wood (Ash), but Mike is the metal magician. Part D of row 44 shows how clever some of the British engineers were in designing a hinge which allows the boot which is curved to close as if it were doing so from a straight surface instead of a curved one. The shiny ball in the middle of the hinge allows it to rotate around a curve on its way closed.
14. Rows 45 and 46 show the shims that were made to allow the boot to close in alignment with the contoured boot section of the tub. The other photos in these rows show the priming of the doors. Photo D shows the damaged apron which was cut at the former garage in order to permit the front bumper to be attached to the new supports.
15. Rows 47 through 49 show the various steps Mike went through to return the apron to the way it looked originally. He made new supports for the front bumper.
16. Rows 50 through 54 show the incredible process of rebuilding a boot lid layer by layer from the wire frame and then stretching steel over the box arrangement which is double curved on one side and flat on the reverse! Holes were drilled and inset to receive the double locks at the top of the boot lid.
17. Rows 55 through 60 show final priming and readiness for the paint.
18. Rows 61 through 63 British Racing Green!
Now you are caught up with nine months of body specialty work. There is much more to do, but I'll try and be better at incremental updates.
20260718 - Singer Comes Home
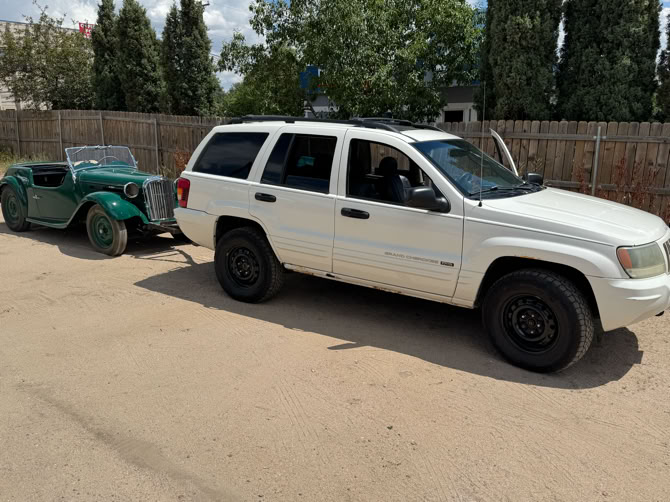
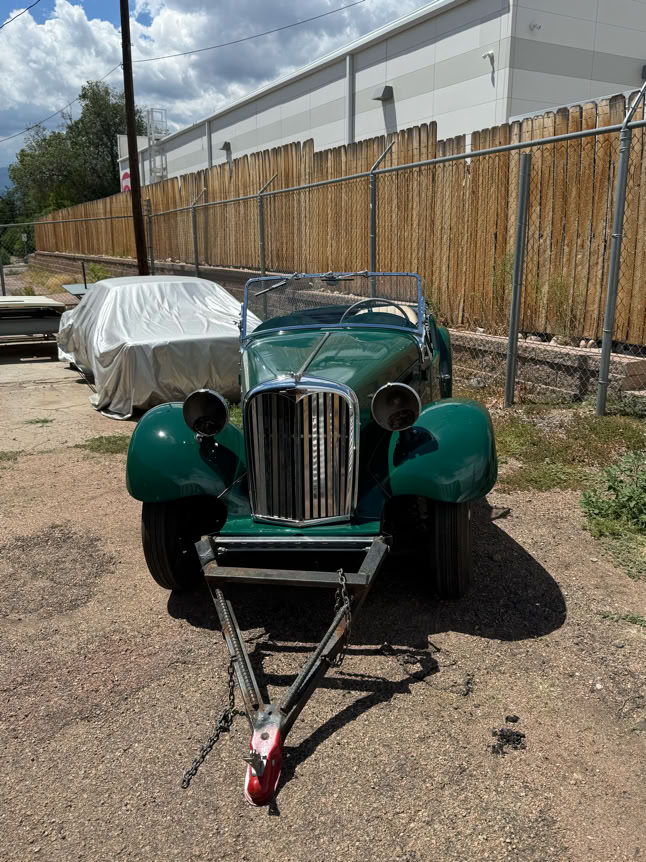
- After almost a year, Mike is finished with the bodywork and towed the Singer home. There was a mishap at the very last turn in our driveway where the wheels on the singer refused to turn and the towbar compressed the bumper strut which mashed part of the apron. Mike said he will fix that as soon as the singer is running and I can bring it in for an hour or so.
20260725 - Won the Singer Lotto
- Eric came over for conversation and a spot of tea and ended up brainstorming my laundry list of things she had to accomplish on the Singer.
- Just before he arrived, in searching for a tail light brake light solution, I came across LED lamp (1157) which looks like it had some possibilities. Digging a little further into British lamp sites, I found a trafficator LED which proposes to light up and flash digital signals from simply replacing the bulb inside! What made the day a lotto experience was actually finding a similar bulb for light and flasher, all in one bulb at O'Reilly's auto supply just blocks from home! If it doesn't work they’re happy to take it back. While there I found a pair of LED tail lights which also had brake light circuit and according to the lady who seems knowledgeable, sending voltage to both sites at once through a 1157 flasher would do the turn signals as well.
- On further reflection, I don't know if the trafficator bulb will also flash. I need to talk to Kevin to see if setting up a 12 V, positive ground, test circuit is indicated.
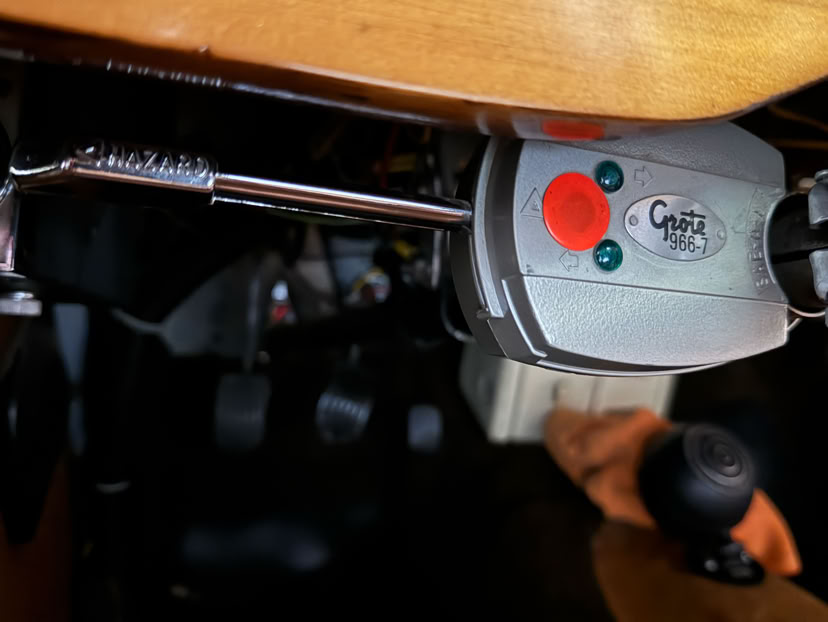
- Another thing that might be necessary to get turn signals working would be to install a flasher unit like I have on the MG. There are several possibilities.